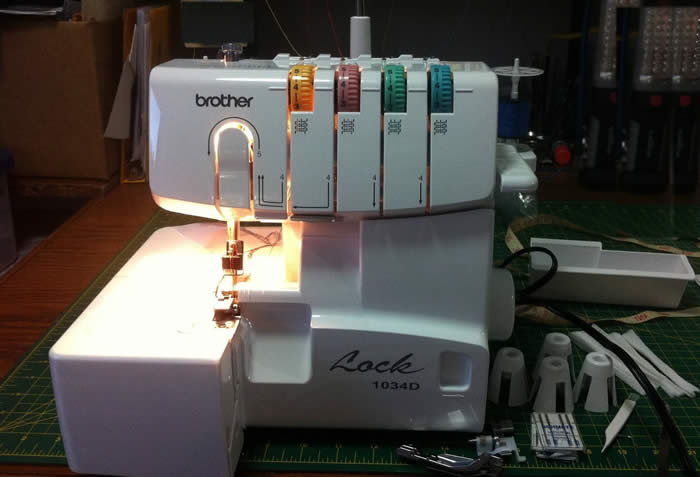
Brother 1034d Serger Tips and Tricks

| • calendar | • downloads | • f a q | • how to | • join us | • meetup | • parts | |
| • projects | • supplies | • tension | • thread | • tips | • tools | • contact |
JOIN OUR SERGER CHAT
CHANNEL ON SLACK
Thread shows through at stressed seams
Stressed Seams - Laddering - Stitching Smiles |
|
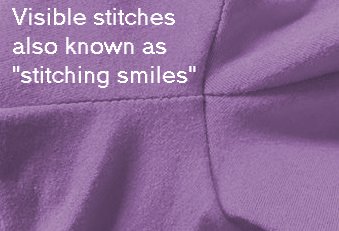
Stitching smiles on serged seams are common when using knits. The areas that receive stress like the crotch or butt, or sometimes the sides of the waiseline seams, start to "gap" or "smile" under pressure.
1. using matching thread color in the left needle helps reduce the visibility of stretched seams 2. tighten the left needle tension as best as you can when serging the first time, and then 3. either serge a second time, with the KNIVES DISENGAGED, or sew a straight seam with a sewing machine. Many folks find this issue or stitches coming actually unravelled when they serge across an already serged seam going the opposite (perpendicular) direction.
One suggestion is to reinforce the seam with a regular sewing machine.
Using stretch thread gives a soft finish but the loopers just form the binding not stretch in the seam.
Many folks do not understand serger stitch formation and spend a lot of extra $ on stretch thread when it will not give you stretch where you think you need it.
Stretch thread does not go in the needles which are where the seam construction occurs, and where seam failure occurs when stressed by too much pulling on it - crotches, waistbands, armscye etc.
Our group Admin Lauren Domingo adds:
Also moving to a shorter stitch length (tiny adjustments!) will allow more stretch. My serged seams stretch the full stretch of my fabric. It’s a balancing act but achievable. Using thread that matches the best to the outside print of your fabric will minimize stitches showing You can use regular sewing machine thread in left needle. It’s just more expensive than serger thread.
Make Sure Serger Thread Is Flossed Through All 4 Tension Discs Securely
Check to see if your left needle thread is flossed, if so tighten the tension in small increments until it stops. Lift your presser foot, hold either end of each thread (one at a time) and give each a little tug. This ensures the thread is seating in each disc properly. Lifting the presser foot opens the discs, dropping the pressure foot closes the discs.
If the thread is not in the disc properly, it becomes visible in the stretched seam.
Do this every time you rethread and periodically check threads are still seated properly.
Read more about Stitch Formation - and review the chart
http://www.brother1034dserger.org/howto/stitchformation.html
|
| You might also like |
| All About Needles by Schmetz |
| Buying a new or used serger : Presales Considerations |
| Chaining Forks and Needleplate |
| Differential Feed: Understanding and using the Differential Feed |
| Fabric is Tunneling or Rolling when serged |
| Maintenance - Overview |
| Neck and Armband 101 |
| Needles |
| Rolled Hemming |
| Skipped Stitches |
| Stitch and Tension Cards! |
| If you'd like to receive an email notification when this page changes,you can subscribe to the 100% opt-in, free service provided by ChangeDetect.com~ they do not send unwanted email. |
Copyright © 2020 Brother 1034d Serger.org All Rights Reserved
A project of Dayspring Technical Support Services
Hosted by ThreeSistersDesigns.com


